Ever fancied learning how to build a garden deck? We'll tell you everything you need to know - check out our guide below.
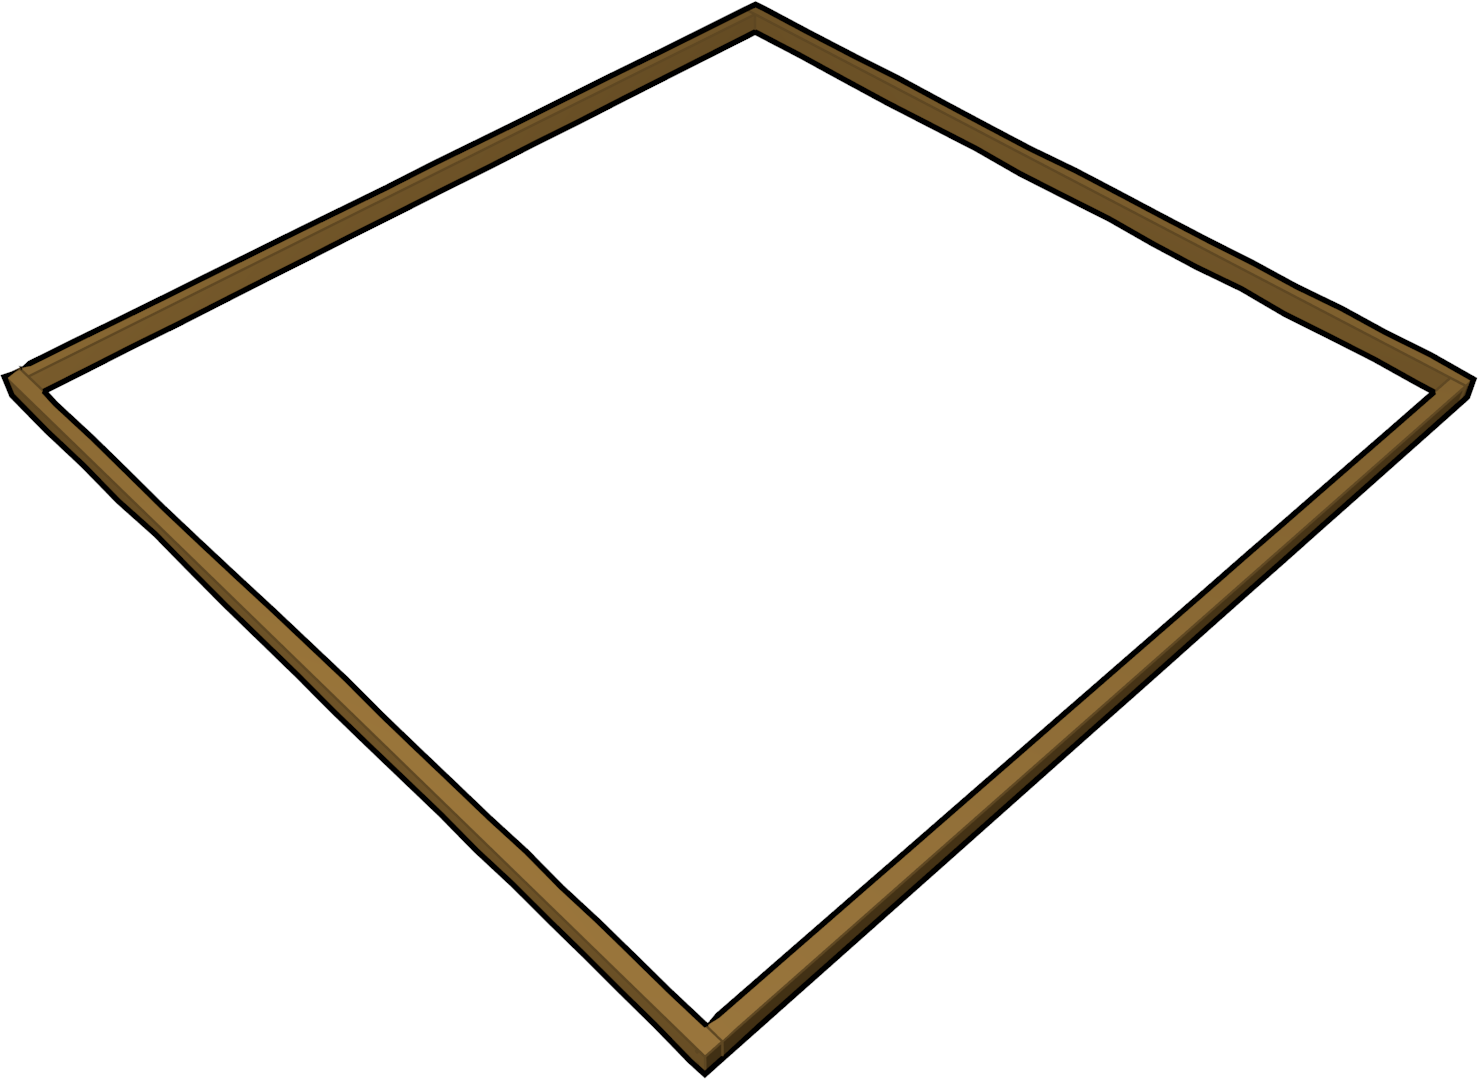
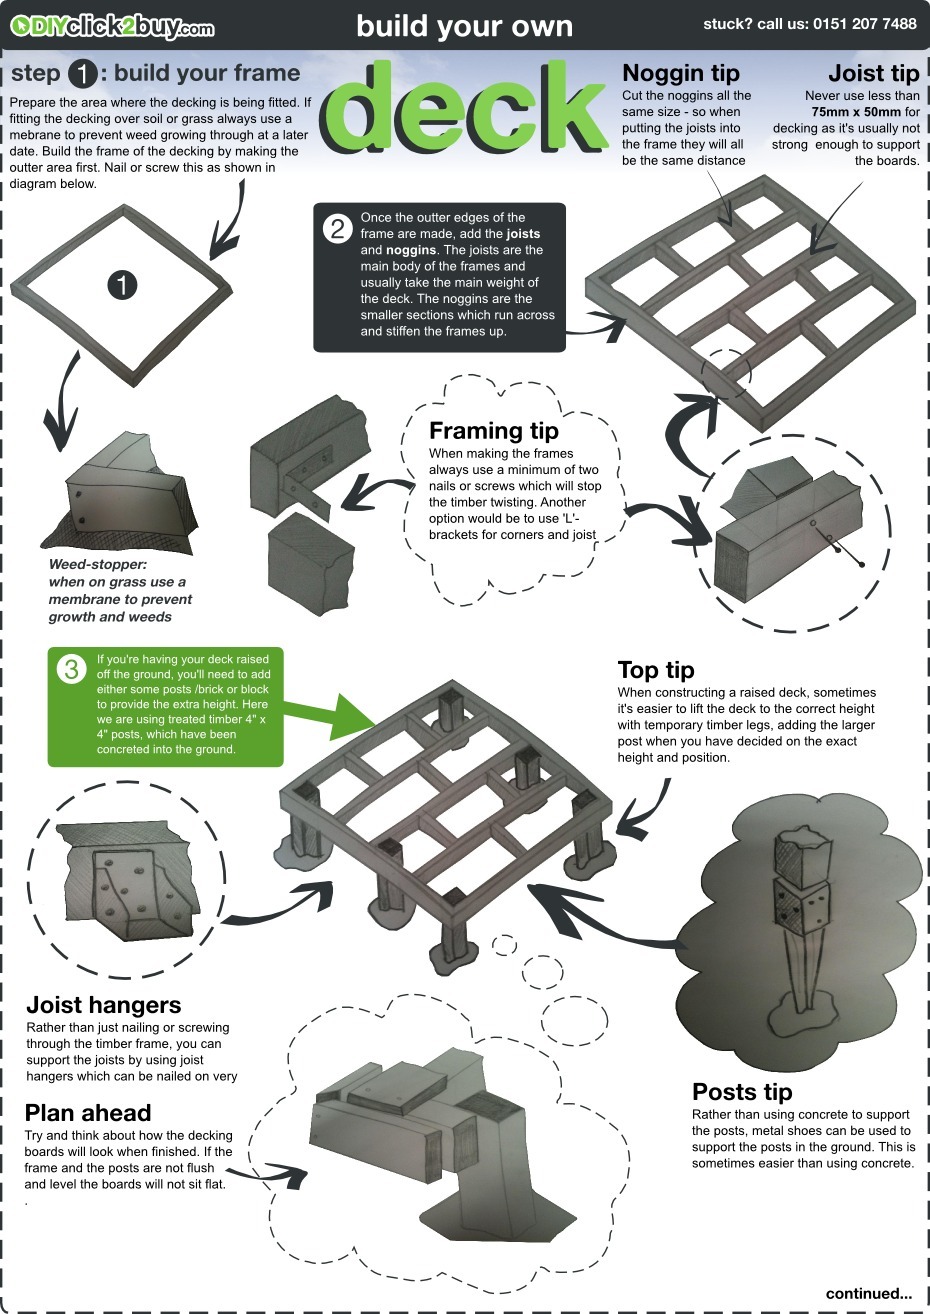
Prepare the area where the decking is being fitted. If fitting the decking over soil or grass always use a membrane to prevent weed growing through at a later date. Build the frame of the decking by making the outer area first. Nail or screw this like so:
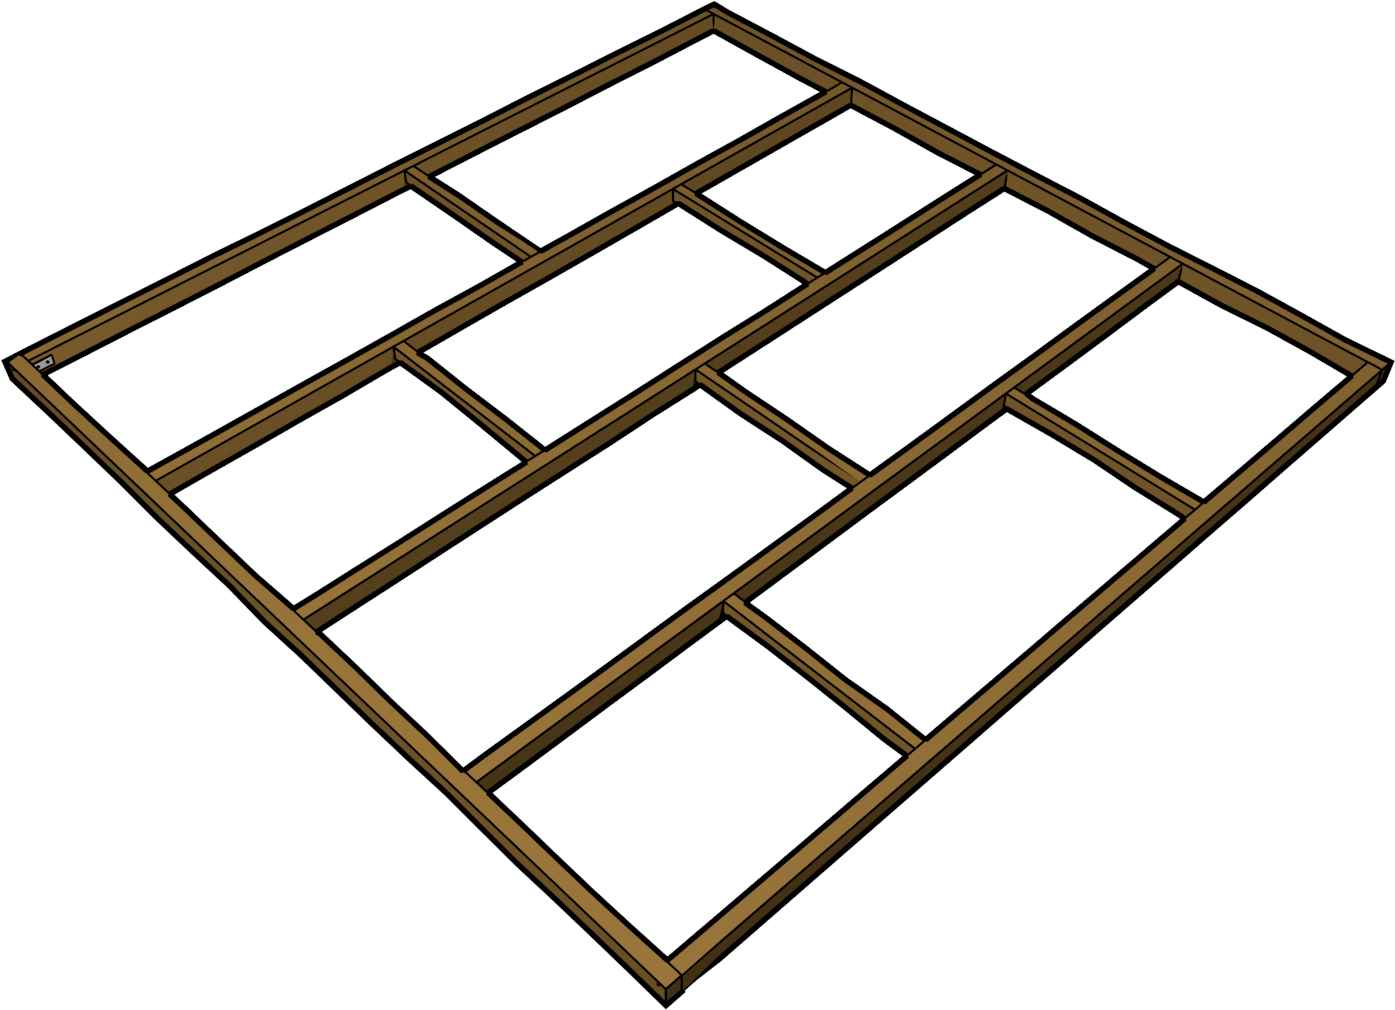
Once the outter edges of the frame are made, add the joists and noggins.
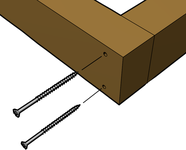
When making the frames always use a minimum of two nails or screws which will stop the timber twisting. Another option would be to use 'L'-brackets for corners and joists.
 Using 'L'-brackets to join the corners
 Using 2 nails or screws will help stop the timber twisting
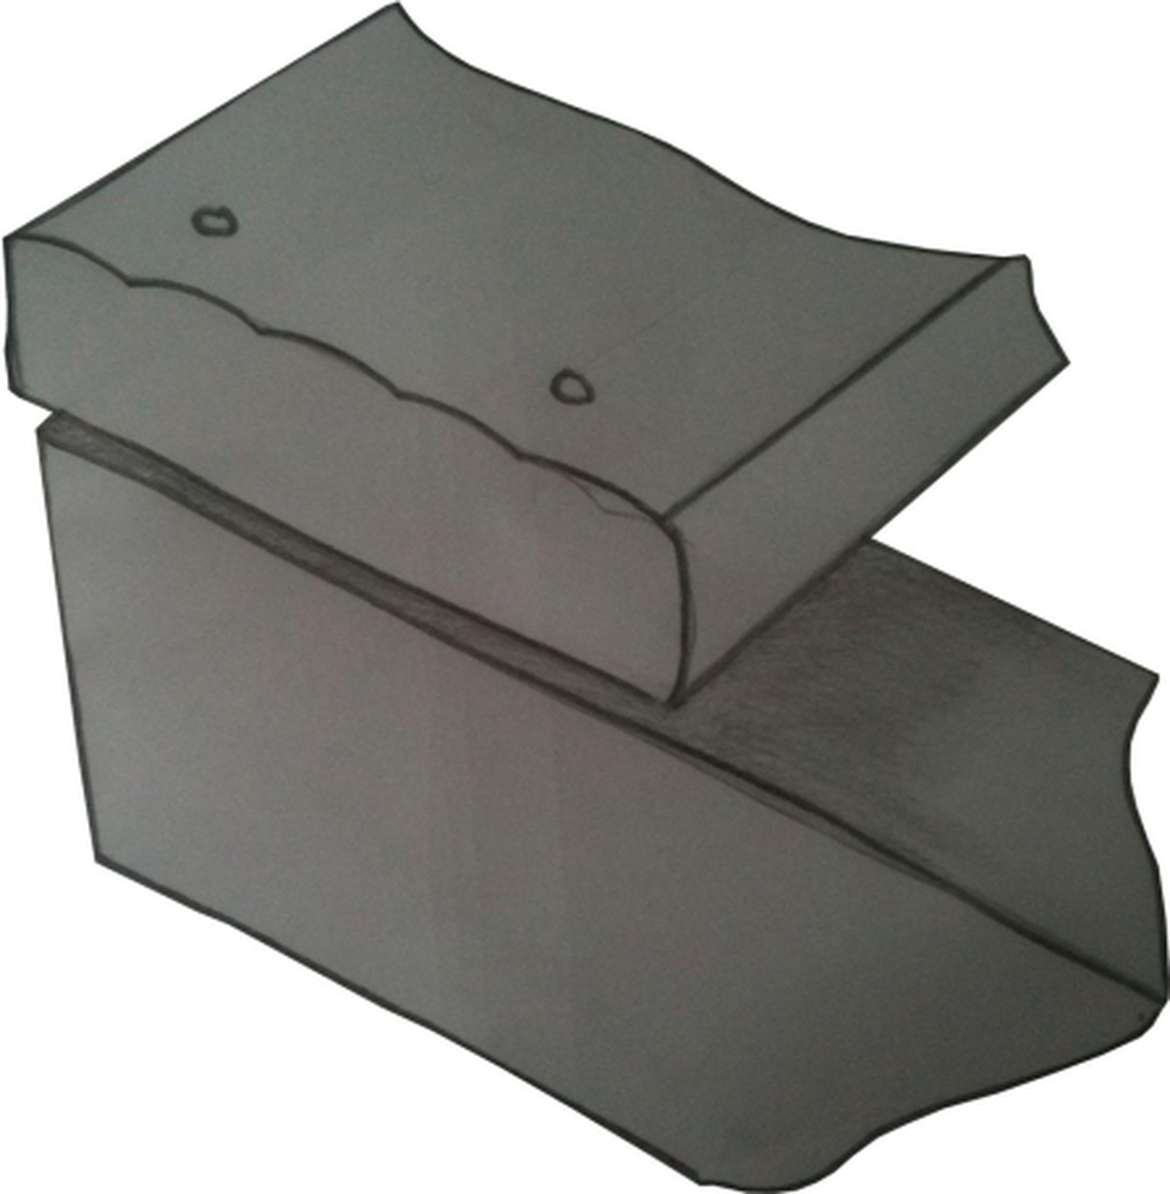
 Rather than just nailing or screwing through the timber frame, you can support the joists by using joist hangers which can be nailed on very easily.
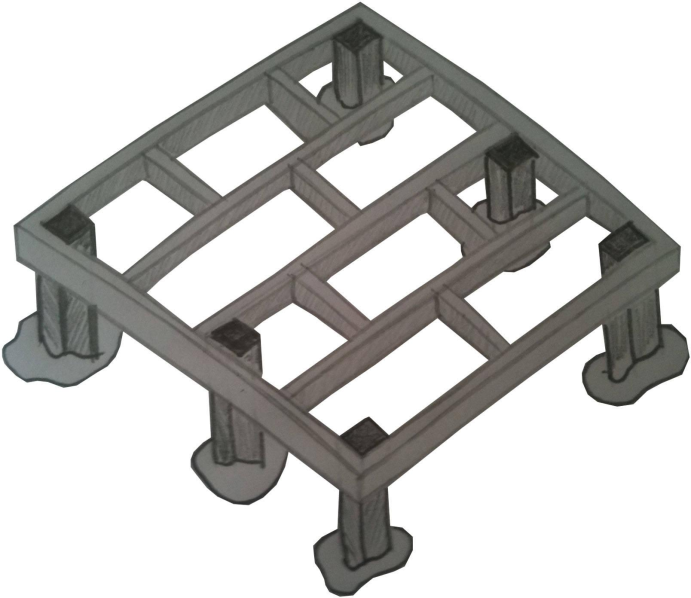
If you're having your deck raised off the ground, you'll need to add either some posts, bricks or blocks to provide the extra height. Here we are using treated timber 4" x 4" posts, which we've concreted into the ground.
When constructing a raised deck, sometimes it's easier to lift the deck to the correct height with temporary timber legs, adding the larger post when you have decided on the exact height and position.
Try and think about how the decking boards will look when finished. If the frame and the posts are not flush and level the boards will not sit flat.
Rather than using concrete to support the posts, metal shoes can be used to support the posts in the ground. This is sometimes easier than using concrete.

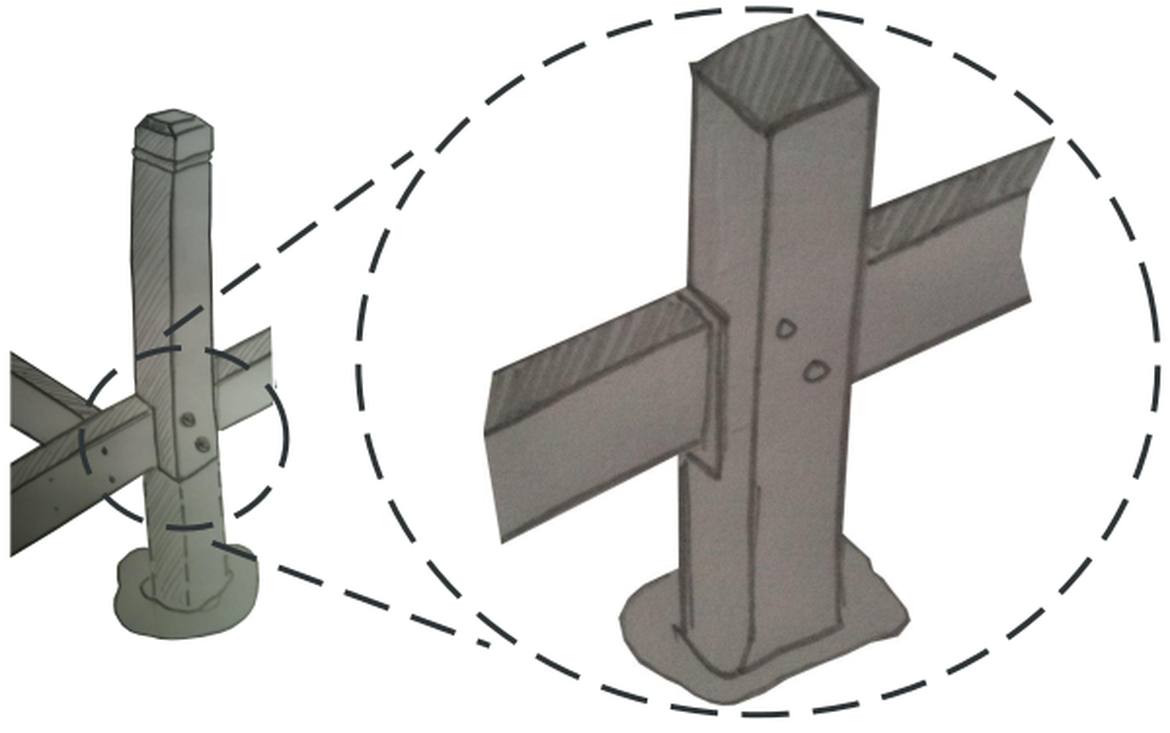
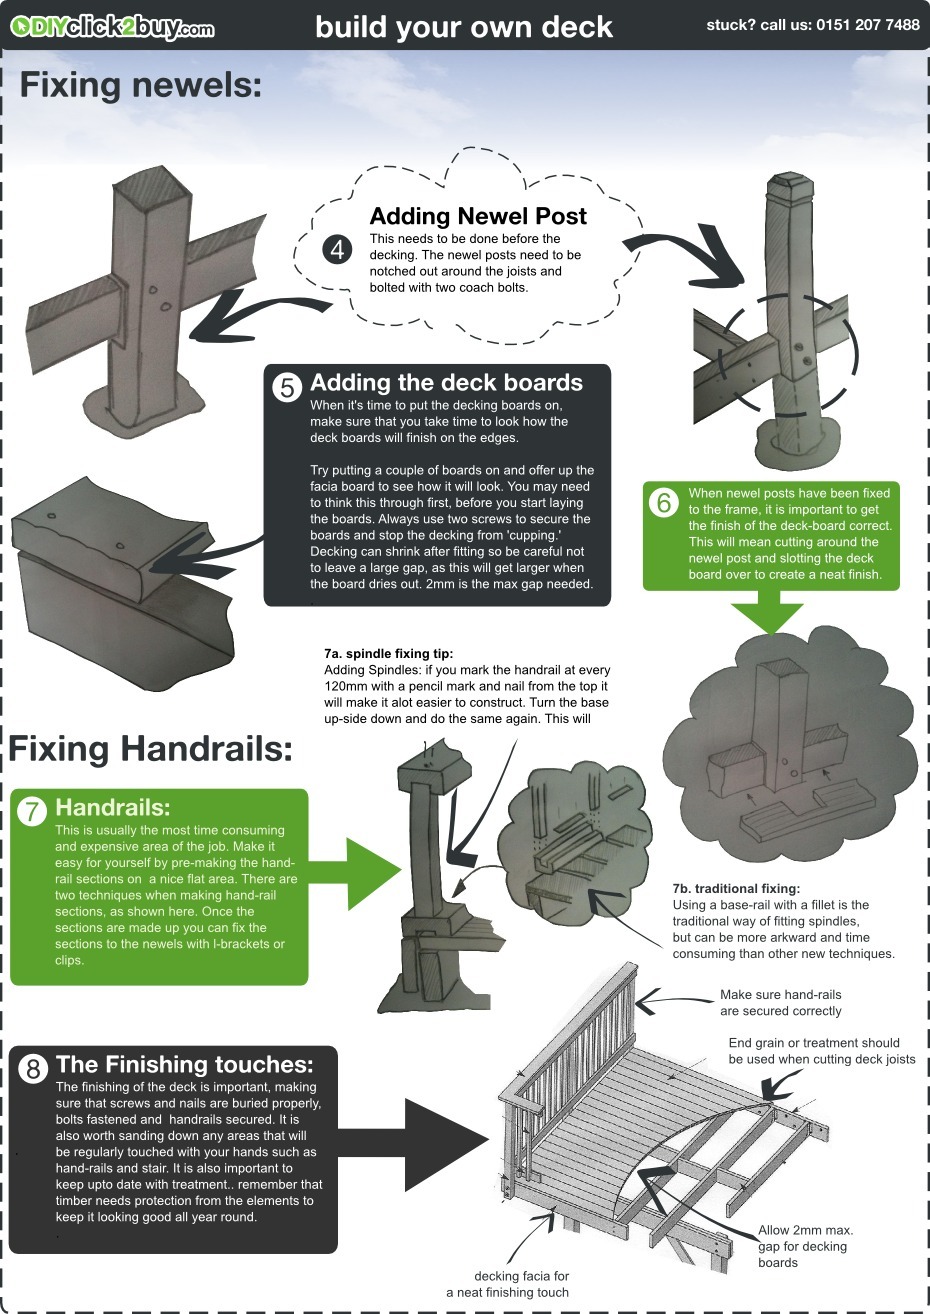
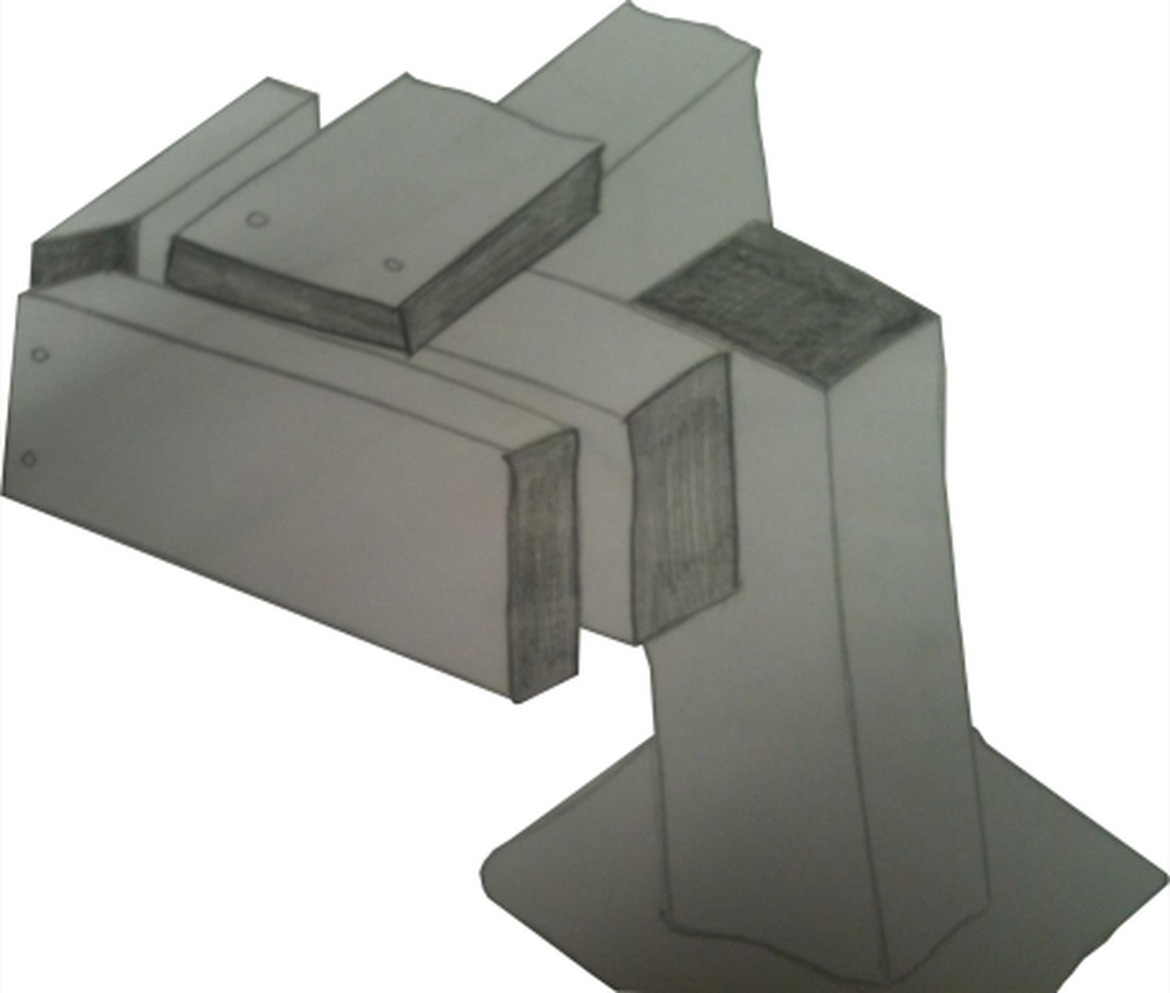
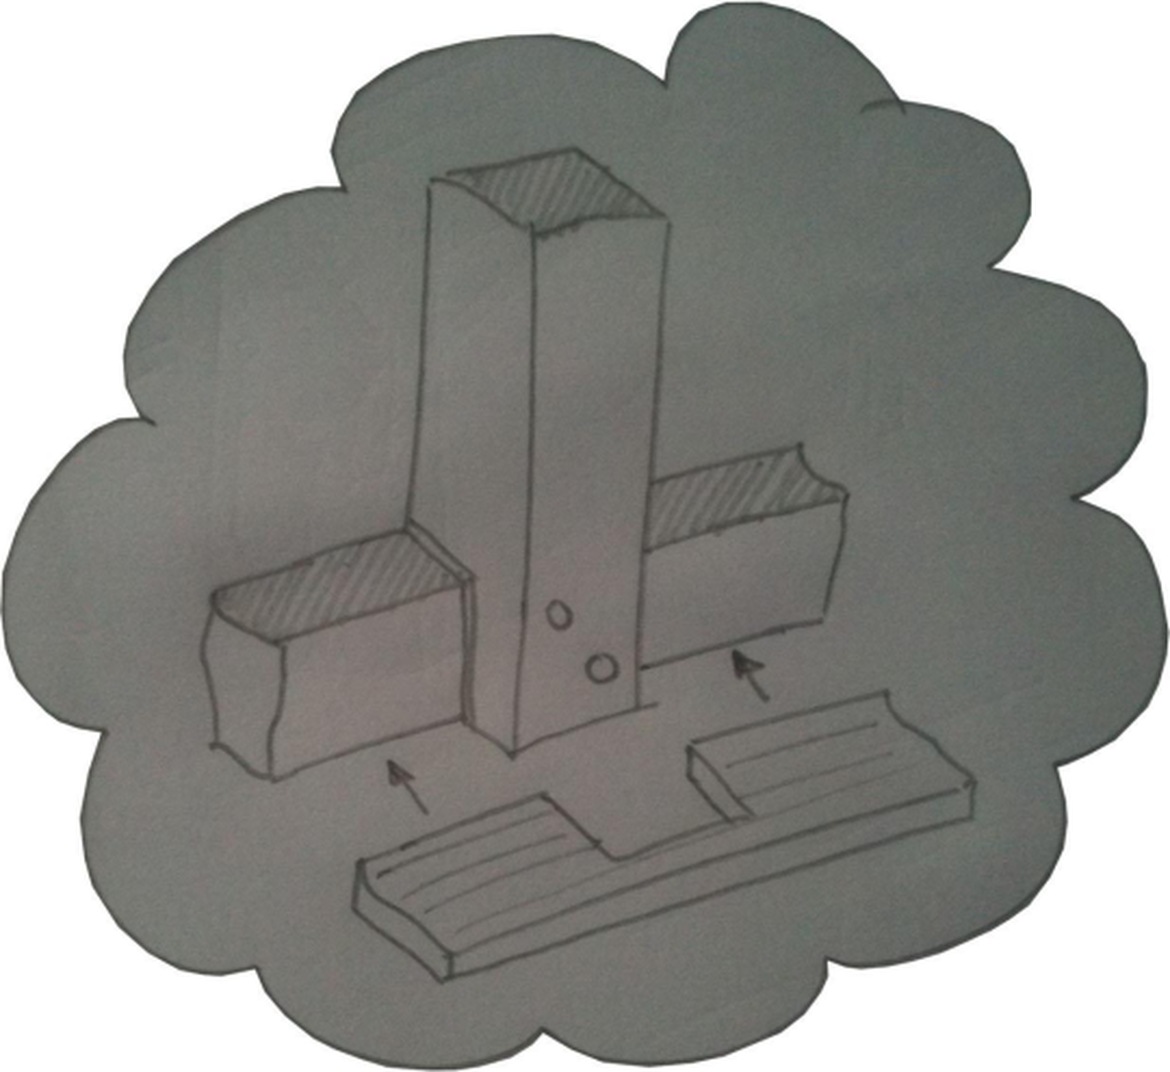
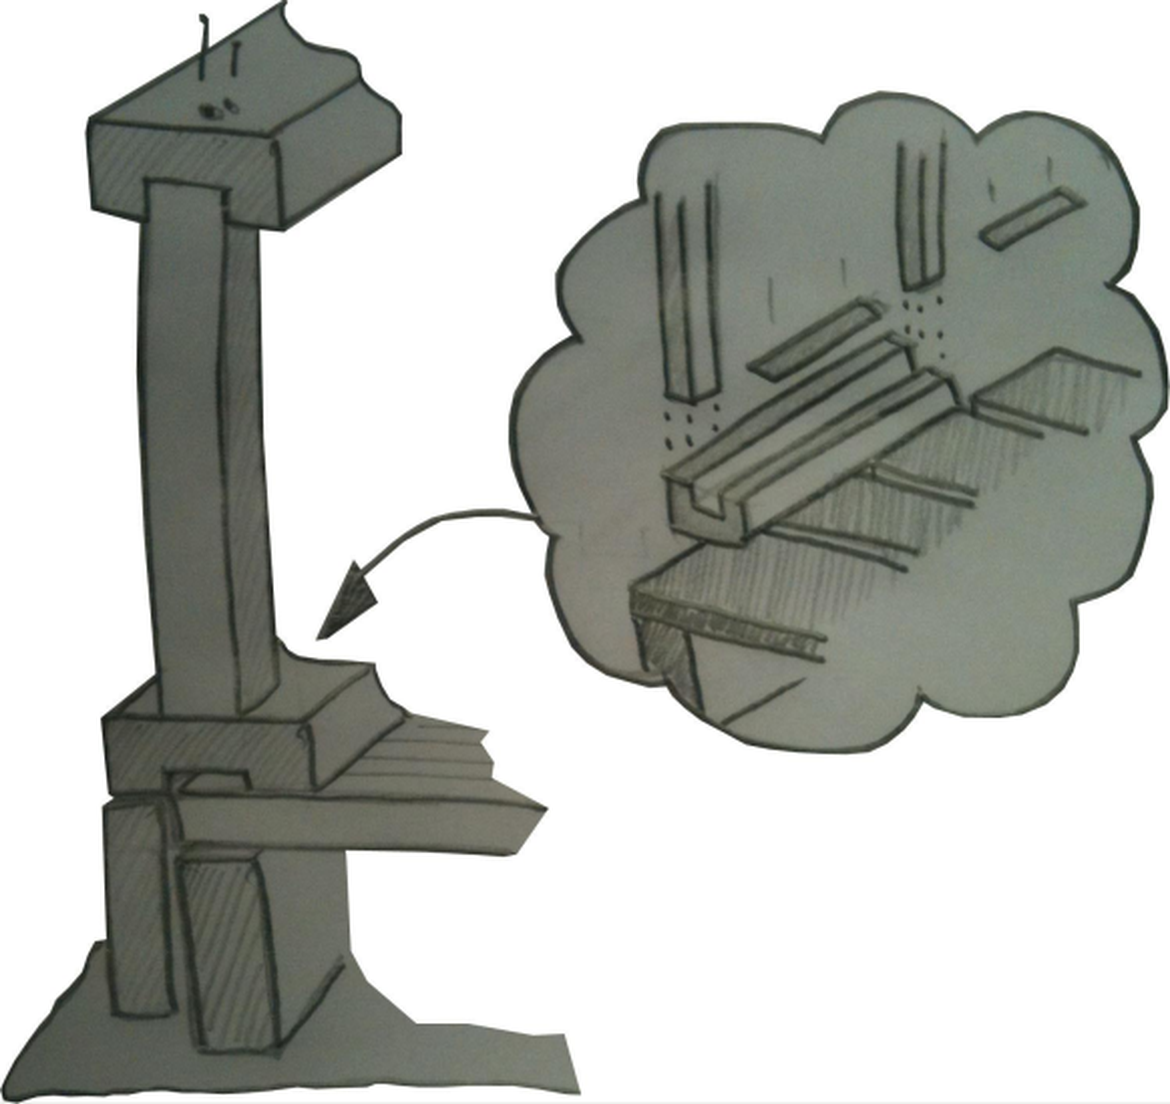
This needs to be done before the decking. The newel posts need to be notched out around the joists and bolted with two coach bolts.
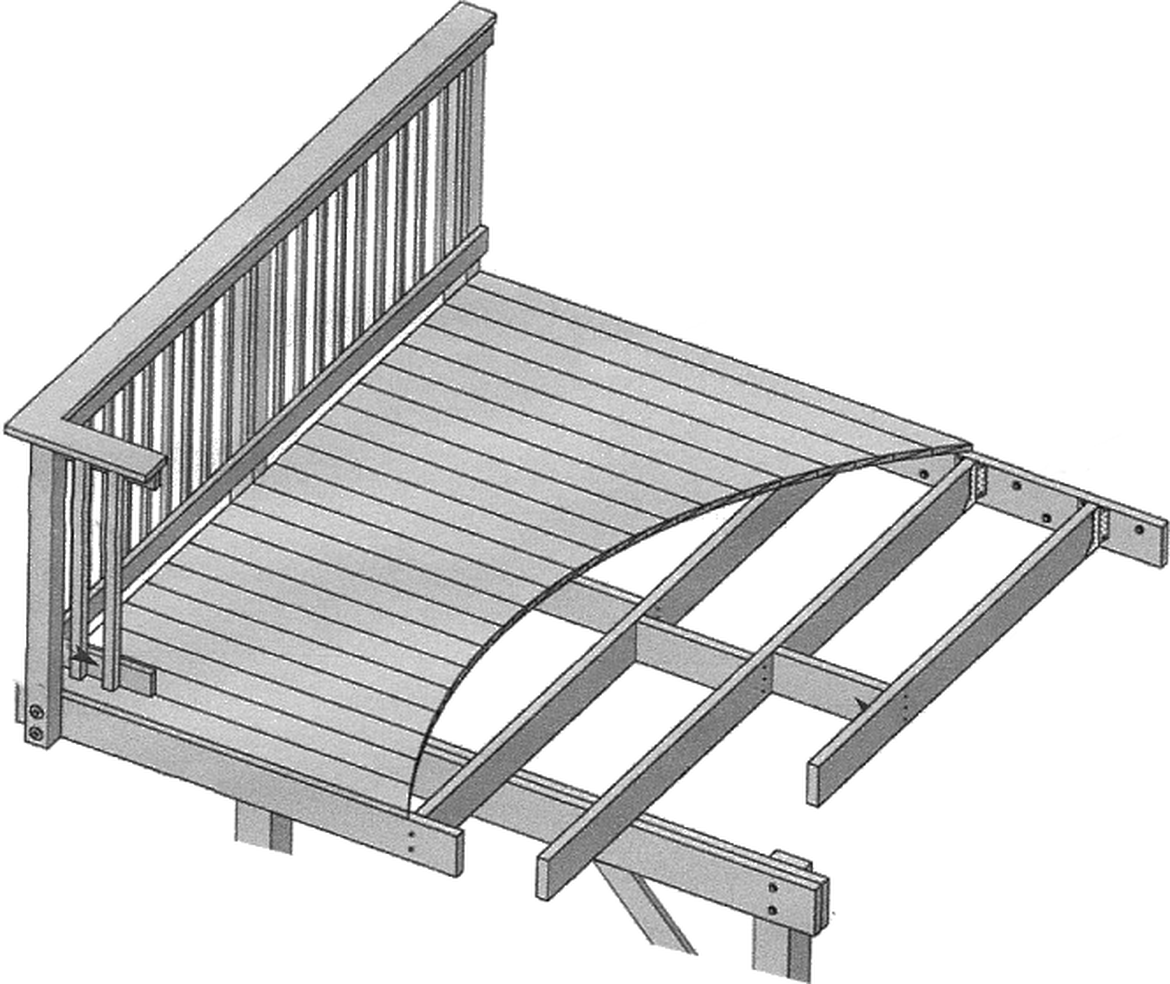
When it's time to put the decking boards on, make sure that you take time to look how the deck boards will finish on the edges.
Try putting a couple of boards on and offer up the fascia board to see how it will look. You may need to think this through first, before you start laying the boards. Always use two screws to secure the boards and stop the decking from 'cupping.' Decking can shrink after fitting so be careful not to leave large gaps between the boards as this will get larger as the boards dry out. 2mm is usually the maximum gap needed.
When newel posts have been fixed to the frame, take extra care to get the finish of the boards correct. This will mean cutting around the newel post and slotting the deck board over to create a neat finish.
This is usually the most time consuming and costly part of the job. Make it easy for yourself by pre-assembling the handrail sections on a nice flat area. Once the sections are made up you can fix the sections to the newel posts with l-brackets or clips. There are two techniques when making handrail sections:
Spindles are usually spaced 120mm apart. Mark the handrail at every 120mm with a pencil mark and nail from the top it will make it a lot easier to construct. Turn the base upside-down and do the same again. This will reduce the need for fillet to be used in the base-rail.
Using a base-rail with a fillet is the traditional way of fitting spindles, but can be more awkward and time consuming than other new techniques.
The finishing of the deck is important! Make sure that screws and nails are buried properly, bolts fastened and handrails secured. It's also worth sanding down any areas that will be regularly touched with your hands such as handrails and stairs. It's also important to keep upto date with treatment. Remember that timber needs protection from the elements to keep it looking good all year round.
Download this guide as a printable PDF |